
Master the Art of Growing Giant Pumpkins with Expert Tips and Guides
Welcome to Big Ol Pumpkins! Discover essential tips and step-by-step guides to grow your own giant pumpkin. Become the envy of your neighborhood with our expert resources and start your pumpkin-growing journey today. Join us for a fruitful adventure in cultivating the biggest pumpkins around!
5/8/20246 min read
How to Grow the World’s Largest Pumpkin: A Beginner’s Guide
Pumpkins are a quint essential symbol of autumn, and for many gardeners, growing pumpkins is a fun and rewarding experience. But if you’ve ever marveled at those behemoth pumpkins at fall fairs or pumpkin festivals and wondered, “How do they get so big?”—you’re not alone! With the right know-how, determination, and a little patience, you can grow your very own giant pumpkin. In this guide, I’ll walk you through the essentials to growing the world's largest pumpkin, starting from seed to harvest. Even if you’re a beginner, with these tips and tricks, you'll be well on your way to growing pumpkins that are sure to impress.
Step 1: Choose the Right Seeds
To grow a giant pumpkin, you need the right genetics. Regular pumpkin seeds won’t do the trick—you need seeds from a variety that is known for producing massive fruits. The most popular choice for giant pumpkins is the “Dill’s Atlantic Giant” variety, which holds world records for some of the heaviest pumpkins ever grown.
You can often purchase these seeds online or from specialty gardening stores. Try to get seeds from a reputable grower or a pumpkin-growing association, as the genetics behind the seed make all the difference.
Step 2: Start Early
Pumpkins take a long time to grow, so starting early is crucial. Depending on your climate, you’ll want to start seeds indoors in late April or early May.
How to Start Seeds Indoors:
- Soak the seeds in warm water for a few hours before planting to encourage germination.
- Plant the seeds in small pots filled with high-quality potting mix.
- Place them in a sunny location or under grow lights, ensuring they stay warm (about 80-90°F).
- After 7-10 days, your seeds should sprout. Keep them indoors until the weather is warm enough for transplanting.
Step 3: Choose the Right Location
Giant pumpkins need space—lots of it! Each plant can take up to 1,000 square feet of growing space. Look for a sunny area in your garden with plenty of room for the vines to spread out. Aim for at least 8-10 hours of sunlight per day, as pumpkins love the warmth.
Pumpkins also need rich, well-draining soil. Before planting, amend your soil with plenty of organic matter, such as compost or Microbe Manna Dry™ & Microbe Manna Hydrate™. Pumpkins are heavy feeders, so you want the soil to be full of nutrients.
Step 4: Transplanting
Once the danger of frost has passed and nighttime temperatures consistently stay above 55°F, it’s time to move your seedlings outdoors.
Transplant Tips:
- Dig large holes (about 2-3 feet wide and deep) and fill them with compost or Microbe Manna Dry™& Microbe Manna Hydrate™.
- Water the seedlings thoroughly after transplanting to minimize transplant shock. For best results water in 4oz. of Quantum Total, 4oz. Microbe Manna Liquid™, and 4oz. of Microbe Manna Flora™
- Space each plant at least 20 feet apart to ensure they have room to grow.
Step 5: Water, Water, Water!
Pumpkins require a lot of water to grow big. Ideally, you should water deeply at least three times per week, ensuring that the soil remains consistently moist but not waterlogged. A drip irrigation system is ideal because it delivers water directly to the roots, preventing mildew on the leaves and minimizing water waste.
Pro Tip: Water in the early morning to reduce evaporation and help the plants cope with the heat of the day. Alternate Microbe Manna Flora™ and Microbe Manna Liquid™ bi-weekly.
Step 6: Fertilize Regularly
Giant pumpkins are greedy feeders and require frequent fertilization to achieve maximum size. Bury all vines to promote more root growth. A balanced fertilizer (such as Micro Manna Dry™) works well early in the season to promote vine and leaf growth. Once the plant starts producing fruit, switch to a fertilizer higher in phosphorus and potassium (such as Active 2-20-2 and ProK 0-0-20) to encourage pumpkin growth. You can also apply Microbe Manna Flora™ and Microbe Manna Liquid™ bi-weekly to keep feeding your pumpkins naturally. If your pumpkins don’t seem to be getting enough nutrients, consider adding AgroThrive General Purpose 3-2-2 to give them an extra boost. This balanced fertilizer can help ensure your plants are getting what they need to reach their full potential.
Step 7: Select the Best Pumpkin
Once your plant starts producing fruit, you’ll need to choose the best pumpkin to focus your efforts on. Giant pumpkins require all the plant's energy, so you’ll want to remove all but one or two of the best-looking pumpkins.
Here’s how to select:
- Look for a pumpkin that is perfectly round or oval.
- The chosen pumpkin should be free from defects, as cracks or blemishes can limit its growth.
- The sooner you can select and remove other pumpkins, the more energy the plant can devote to growing your chosen gourd.
Step 8: Bury and Manage the Vines
Pumpkin vines will grow aggressively, and if left unmanaged, they can spread out of control. To maximize pumpkin size, you’ll want to bury the vines to ensure energy is focused on the pumpkin itself.
- Secondary vines (those growing from the main vine) can be buried back to about 10 feet.
- As the pumpkin grows, gently turn and adjust the vine to ensure the pumpkin has room to grow without putting stress on the vine.
Step 9: Protect the Pumpkin
Once your pumpkin starts growing, it’s important to protect it from the elements. Heavy rains, insects, and animals can all damage your growing giant.
- Place a soft blanket, pallet, or piece of foam board under the pumpkin to protect it from rot.
- If possible, build a makeshift shade structure to shield the pumpkin from the harsh sun.
- Keep an eye out for pests like squash bugs or powdery mildew and address these issues with organic insecticides or fungicides as needed.
Step 10: Be Patient and Keep Feeding
Giant pumpkins don’t reach their massive size overnight! Depending on the variety and growing conditions, it can take anywhere from 90-120 days from transplanting to achieve full size. During this time, continue watering, fertilizing, and protecting your pumpkin.
Some growers also use:
First trophic level refers to the primary producers in an ecosystem, typically plants, algae, and some bacteria. These organisms are autotrophs, meaning they produce their own food through photosynthesis or chemosynthesis, using energy from the sun or chemicals in their environment. The energy captured at this level forms the foundation of the food chain, supporting all higher trophic levels. In the context of growing pumpkins, your plants would be part of the first trophic level, converting sunlight into energy that will ultimately support the entire ecosystem around them. mycorrhizae and (beneficial fungi) to enhance root development and nutrient absorption, giving their pumpkins an extra boost.
Photosynthetic bacteria are a diverse group of microorganisms capable of converting light energy into chemical energy through photosynthesis, similar to plants. However, unlike plants, many of these bacteria do not produce oxygen during the process. Instead, they may use other compounds, such as sulfur or hydrogen, as electron donors in place of water.
There are several types of photosynthetic bacteria, with the most well-known groups including:
Cyanobacteria: Often called "blue-green algae," cyanobacteria are one of the oldest forms of life on Earth and were responsible for oxygenating the atmosphere billions of years ago. They carry out oxygenic photosynthesis, meaning they produce oxygen as a byproduct, similar to plants.
Purple Bacteria: These bacteria carry out anoxygenic photosynthesis, using light energy but not producing oxygen. They are typically found in aquatic environments and may use sulfur or hydrogen instead of water in their metabolic process.
Green Sulfur Bacteria: Similar to purple bacteria, they perform anoxygenic photosynthesis and are often found in environments with low light and high levels of sulfur, such as deep-sea vents or sulfur springs.
Heliobacteria: A group of anoxygenic photosynthetic bacteria that are found in soils and waterlogged environments. They are unique because they are among the few photosynthetic organisms that do not use chlorophyll a as a pigment.
Photosynthetic bacteria play a crucial role in ecosystems, contributing to nutrient cycling, primary production in aquatic environments, and forming symbiotic relationships with other organisms, such as plants and corals. They can also be used in various biotechnological applications, such as biofertilizers, waste treatment, and renewable energy sources.
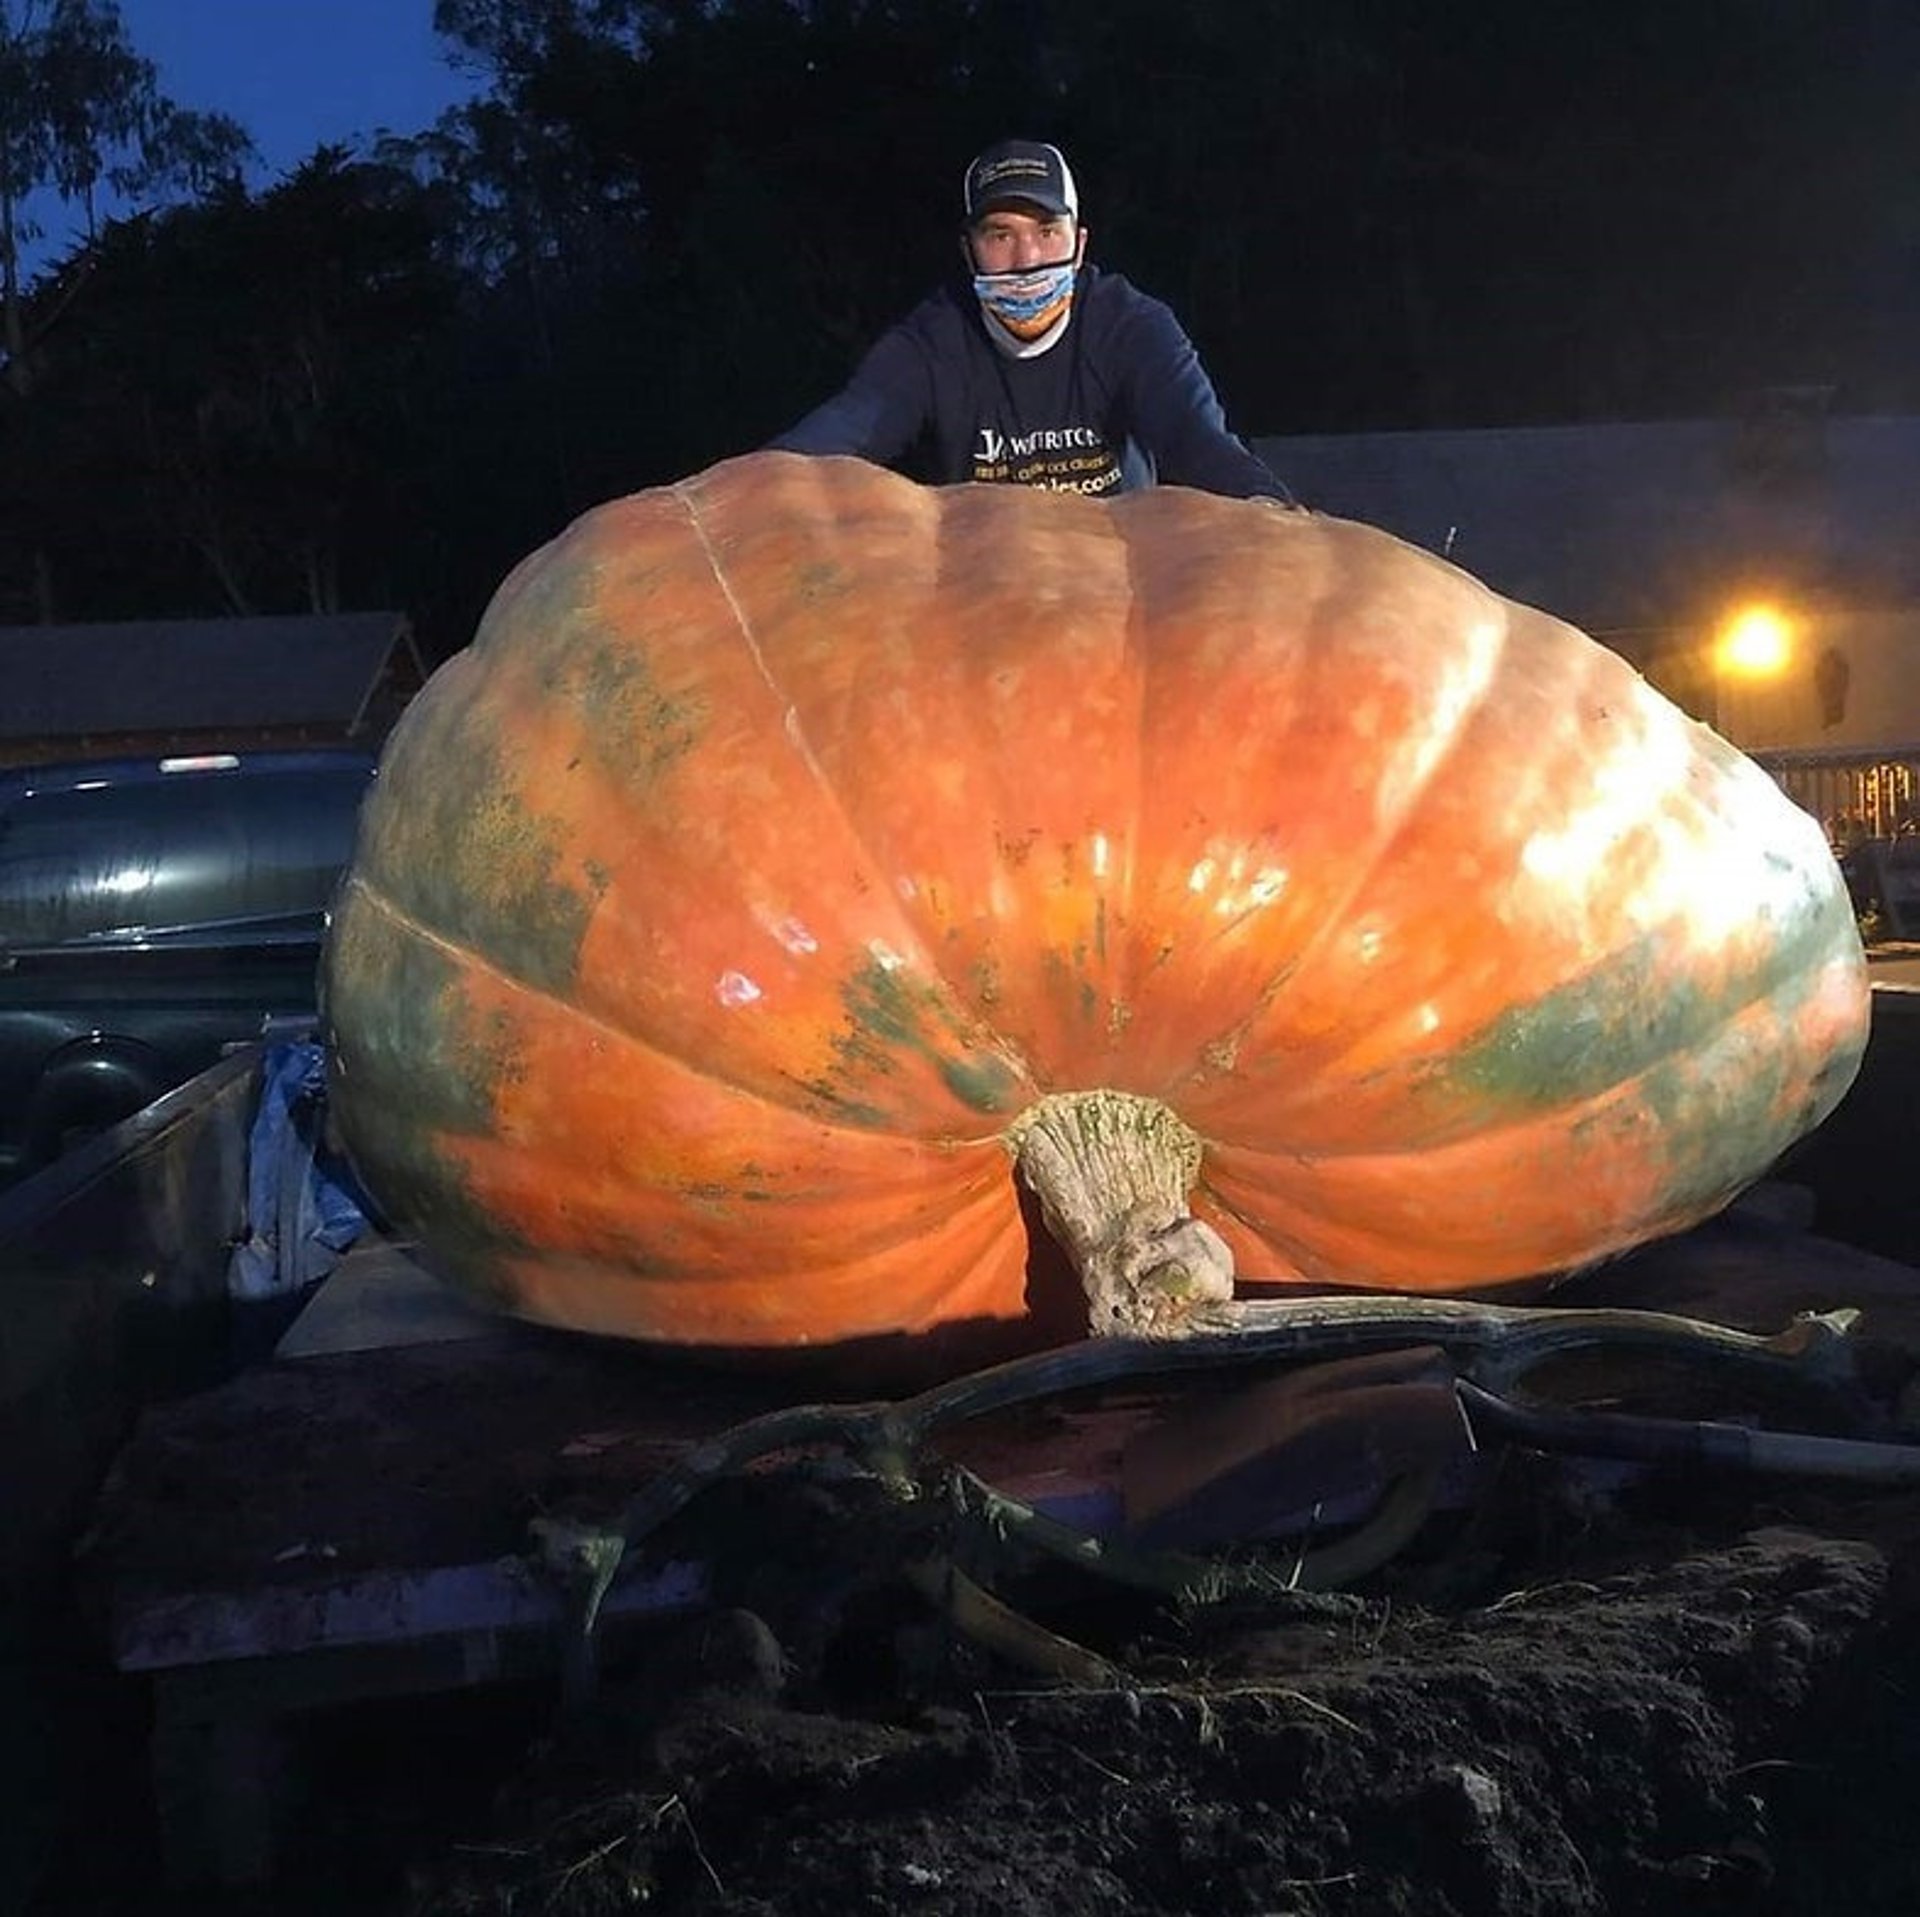
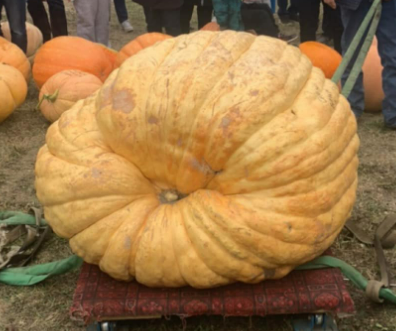
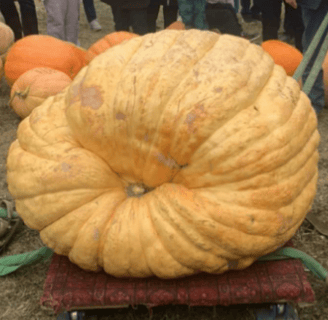
Step 11: Harvest and Celebrate
Your pumpkin will likely reach peak size in early to mid-October, just in time for fall festivities. When the pumpkin’s skin hardens, and it develops a deep color, it’s time to harvest. Use a sharp knife or pruning shears to cut the vine, leaving a generous stem attached.
Now comes the fun part—celebrating your success! Whether you display your giant pumpkin at a local fair, use it as a centerpiece for Halloween, or simply enjoy the fruits of your labor with friends and family, growing a giant pumpkin is an achievement worth celebrating.
Conclusion: Grow Big, Dream Bigger
Growing the world’s largest pumpkin takes dedication, patience, and a bit of know-how, but it’s also a deeply rewarding challenge. By following these beginner tips and tricks, you’ll be well on your way to cultivating a pumpkin that could rival the giants at any pumpkin competition. So, get started and who knows? Maybe your pumpkin will break the next world record!
Happy growing! 🎃