Starting Seeds Indoors: A Step-by-Step Guide
8/22/20243 min read


Introduction to Indoor Seed Starting
Starting seeds indoors can provide a head start on the growing season, especially in regions with a shorter window of warm weather. This guide will walk you through the process of planting your seeds indoors and preparing them for transplantation to your outdoor garden.
Preparing Your Materials
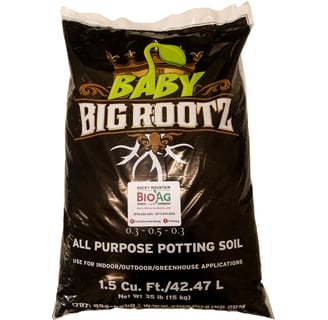
The first step in starting your pumpkin seeds indoors is to gather the necessary materials. You'll need Baby Big Roots, made by grower for growers, small containers, quality seed, and a water solution. For optimal results, soak your pumpkin seeds in a mixture of 10 ml of Microbe Manna Flora per 1 oz of non-chlorinated water. This helps enhance germination and promotes healthy root development. If you're using peat pots, they can be planted directly into the garden later, minimizing root disturbance and giving your pumpkins the best start.
Planting the Seeds
Plant your pumpkin seeds indoors about 3-4 weeks before the last frost date in your area. This timing is key for optimal growth. Fill your containers with quality seed-starting soil, and plant each seed about 1 inch deep, as this depth is crucial for successful germination. For the best results, alternate waterings with Microbe Manna Flora and Microbe Manna Liquid to provide a balanced nutrient boost and promote healthy root development. Additionally, ensure your plants receive consistent warmth and light by placing them near a sunny window or using grow lights to keep the seedlings strong and vigorous.
Maintaining Ideal Growing Conditions
Once the seeds are planted, it's crucial to keep the soil moist and warm to encourage proper germination. The ideal temperature is around 85°F. If your indoor conditions are cooler, consider using a heating mat designed for seed starting to maintain this optimal temperature. Consistently monitor the moisture levels, ensuring the soil stays damp but not waterlogged. For even better results, mix in Microbe Manna Hydrate to provide unique soil amendment that will keep your seedlings hydrated and happy.
Transplanting Seedlings to Your Garden
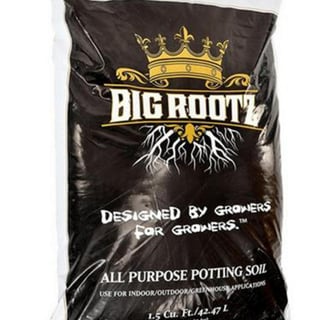
After your seedlings have developed 2-3 leaves and the threat of frost has passed, they are ready to be transplanted into your prepared garden bed with Big Rootz, made by growers for growers. Before transplanting, gradually expose the seedlings to the outdoor environment over the course of several days, a process known as hardening off. For optimal growth, incorporate Microbe Manna Dry™ into the soil when transplanting. This will provide crucial nutrients, giving your plants a balanced nutrient foundation to thrive as they adjust to their new outdoor conditions.
Conclusion
By starting seeds indoors and following these steps, you can boost the success of your gardening efforts and enjoy a bountiful harvest. Happy gardening!